How to Choose the Best Images for Your Blog Posts

Content with some nice looking images tends to generate more interest and social sharing than content without. Having images on your blog post also makes it look better and easier to read, instead of just being a wall of text that will get potential readers to quickly click the dreaded X bar on your tab.
To make sure your readers stay on your blog and read you articles, here are some quick and easy things you should consider when searching for images for your website.
7 things you need to know when selecting your blog post images
1. Don’t use images that you don’t have the right to use
The most obvious, but also most important. You should never search Google’s images and use the first photo that you think fits your blog post. Violating any copyrights could cost you quite a bit of money.
If the image falls under the Creative Commons license then it is free to use, as long as you link back to the image source. There are also a few places to get free stock images for use on your blog without having to link back to the source (see ‘bonus free option’ at the end of this post).
Usually going the free route means you won’t have the best selection. I normally dislike using stock images so I tend to use Photoshop to create most of the images on this blog. I know Photoshop isn’t an option for most though. If free isn’t enough then you always have the option of using a non-free service that provides images via a subscription. One decent service that comes to mind is iStockphoto.
2. Use images that are relevant to your blog post
This should also be obvious, but any image you use for your articles should be relevant to that article. This is important for so many reasons, but for social media the image is normally the first thing someone sees. This can lead to a low clickthrough rate for your content and can lead email subscribers to unsub if your images aren’t relevant.
Any old image you find on free stock photo websites or under Creative Commons should not do. Don’t be scared to add some screenshot images when appropriate. For example, my recent content aggregator websites post uses all screenshots for the images, including the featured image. As long as it ‘fits’ then I tend to try and use screenshots whenever I can since they don’t require editing in Photoshop.
3. High quality
Having a low quality image as the first thing people see on your post is a great way to get folks to leave or not share your article via social media. The images you use on posts should always be good quality. If it’s of lower quality then it’s recommended that you continue your searching.
4. Budget yourself
This may come as a surprise, but buying stock images online is ridiculously expensive. Take the iStockphoto website that I mentioned above. They sell you their photos in two ways, you can buy ‘credits’ which you can use to download their stock photos, or you can subscribe. The credits range from 1 credit to 300 and range in price from $12 (for a whooping one credit) to $2,400 (for 300 credits). Subscriptions are just as bad, starting at $166 per month! Ouch.
I guess what I’m trying to say is go free as much as you can, go ‘premium’ for only the posts that you think need it. Or possibly better yet, get someone to create images for you on websites like Fiverr. This can actually be a lot cheaper than subscribing or buying credits from expensive stock photo websites.
5. Make sure your images are shareable
Another no-brainer. Having a way for your images to be shared is important for traffic and for viral posts. It’s not that difficult to do either, simply add some type of pinterest function on your blog.
6. Optimize images for mobile devices
If you are running your blog on a premium theme, then your website is probably already optimized for mobile devices. If not, then you should pay attention to how your images look on mobile devices. I never recommend running a free theme for a blog you are going to dedicate a lot of time to and even if you run a premium theme you should check to see how your images appear on a variety of mobile devices. One excellent way to do that is to use the Mobiletest.me to see how your webpage displays on a variety of handhelds and mobile devices.
7. Optimize your images for search and speed
This tip is sometimes a neglected one. Optimizing images for speed shouldn’t be put off, especially since it is so easy to do. If you run a WordPress blog then optimizing images is as easy as installing a plugin. As for optimizing for search, adding a descriptive title and alt tag to your images can help get your images some search engine visibility. There’s actually a great plugin to do just that: SEO Friendly Images automatically will add a title and alt tag to your uploads.
Recommended Reading: 8 Free Plugins to Optimize Your Blog’s Images
Where to find images to use?
There are quite a few places to find high quality images for use on your blog. Sadly, every single stock photo website that I’ve come across that sells credits or subscriptions are extremely expensive. For example, Shutterstock is one of the most popular stock image websites. They sell subscriptions and individual images. Image prices range from 2 images for a ridiculous $29, 5 for $49, or 25 for $229. Subscriptions are worse, with the lowest subscription plan starting at $199 per month.
In other words, it’s best to use these places only when you are unable to find images elsewhere. Here are some websites where stock images are sold:
ShutterStock – You can purchase credits or buy a subscription. The credits start at $29 for two and subscriptions start at $199 / month.
iStockPhoto – Similar in price to ShutterStock. With iStock you can buy credits starting at $33 or subscriptions starting at $166 / month.
Dreamstime – Slightly less expensive than the previous two options. Dreamstime ranges in price based on what type of plan you buy. Credits cost as little as $15 for 11 and subscription plans start at $23 a month for 5 images.
Gettyimages – Definitely the most expensive option on this short list. Gettyimages does not come with the ability to subscribe or buy credits, instead you pick the images out that you want (adding them to your cart) and then “calculate” the total price which depends on what you are using it for and how long it will be used.
Bonus free option:
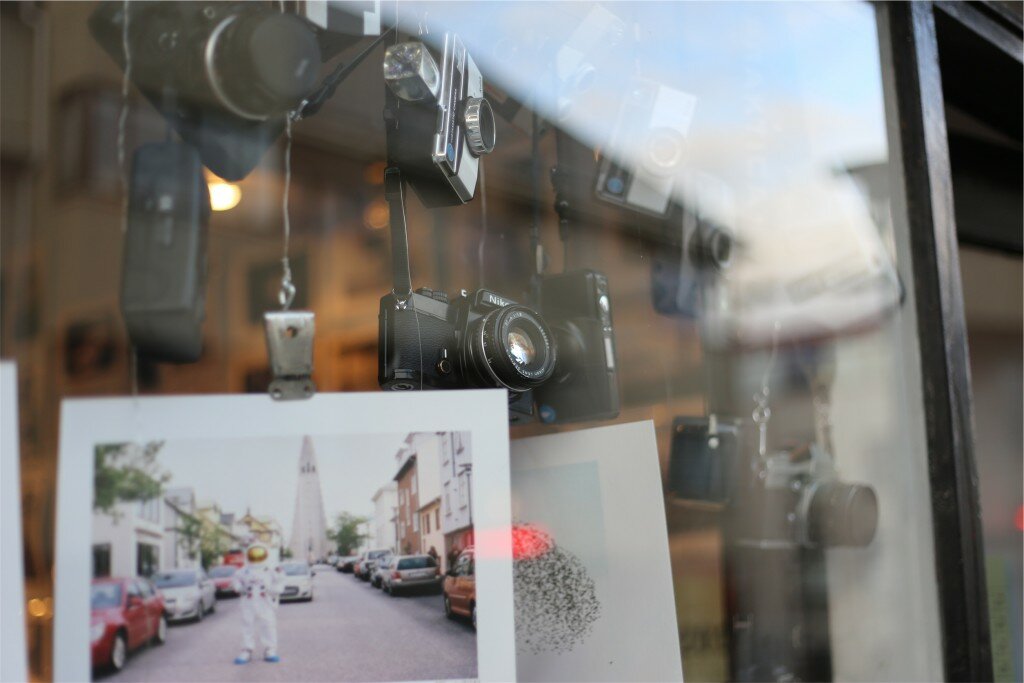
You may have noticed that the above picture is different from my normal header blog post images. That’s because I got it from Unplash, which allows people to use any of their images free and you don’t even have to link back to them. So if there are free options why use any of the paid websites? Well, Unplash and many of the other free alternatives don’t have the wide variety the paid stock image websites have. In fact, Unplash doesn’t even have a search function for their images.


